Cabinet Cleaning Solutions Before Painting: What To Clean Cabinets With Before Painting

Properly cleaning your cabinets before painting is crucial for achieving a smooth, long-lasting finish. A clean surface ensures the paint adheres properly, preventing peeling and chipping. Choosing the right cleaning solution depends on the cabinet material and the level of grime present. Using the wrong cleaner can damage the surface, requiring costly repairs.
Cabinet Cleaning Solutions: A Comparison
Selecting the appropriate cleaning agent is paramount for successful cabinet preparation. The following table compares common household cleaning solutions, considering their effectiveness, safety, and cost.
| Cleaning Solution | Effectiveness | Safety | Cost |
|---|---|---|---|
| Warm soapy water | Good for light grime; effective on most surfaces. | Safe, gentle, and readily available. | Very low |
| Degreaser (e.g., TSP substitute) | Excellent for removing grease and grime; effective on most surfaces. | Requires proper ventilation; wear gloves and eye protection. | Low to moderate |
| Baking soda paste | Good for scrubbing stubborn stains; gentle on most surfaces. | Safe and non-toxic; readily available. | Very low |
| White vinegar solution (diluted) | Moderate effectiveness; good for removing mild mildew. | Generally safe; use with ventilation. | Very low |
Choosing the Right Cleaning Solution Based on Cabinet Material
The type of cabinet material significantly influences the cleaning solution’s selection. Aggressive cleaners can damage delicate surfaces like wood, while milder solutions might be insufficient for heavily soiled laminate.
Preparing Different Cabinet Materials for Painting
Wood cabinets require a gentle approach. Start with warm soapy water, followed by a degreaser if necessary. Thoroughly rinse and allow to dry completely before priming and painting. Melamine cabinets, typically more resistant, can tolerate slightly stronger cleaners like diluted TSP substitutes. Always test any cleaning solution on an inconspicuous area first to check for discoloration or damage. For laminate cabinets, avoid abrasive cleaners that could scratch the surface. A simple solution of warm soapy water and a soft cloth is usually sufficient. Remember to thoroughly rinse and dry all surfaces before applying paint.
Safe and Effective Cleaning Techniques

Preparing your cabinets for painting requires meticulous cleaning to ensure a smooth, long-lasting finish. Improper cleaning can leave behind residue that compromises paint adhesion, leading to peeling or chipping. This section details safe and effective cleaning techniques to prepare your cabinets for a professional-looking paint job. Prioritizing safety and preventing damage is crucial throughout the process.
Proper cabinet cleaning before painting involves a systematic approach that removes grease, grime, and stubborn stains without damaging the cabinet’s surface. Different cleaning methods are suitable for various materials, requiring careful consideration to avoid scratches or other imperfections. The goal is to create a perfectly clean and dry surface ready for priming and painting.
Cabinet Cleaning Step-by-Step Guide, What to clean cabinets with before painting
Thorough preparation is key to a successful paint job. This step-by-step guide Artikels the process, ensuring all surfaces are clean and free from contaminants.
- Preparation: Gather your supplies: a soft-bristled brush, microfiber cloths, a bucket of warm water, a mild dish soap (avoid harsh chemicals), a degreaser (optional, for particularly greasy cabinets), and personal protective equipment (PPE) including gloves and eye protection. Ensure the area is well-ventilated.
- Dusting: Begin by using a soft-bristled brush or tack cloth to remove loose dust and debris from all cabinet surfaces. Pay close attention to corners and crevices.
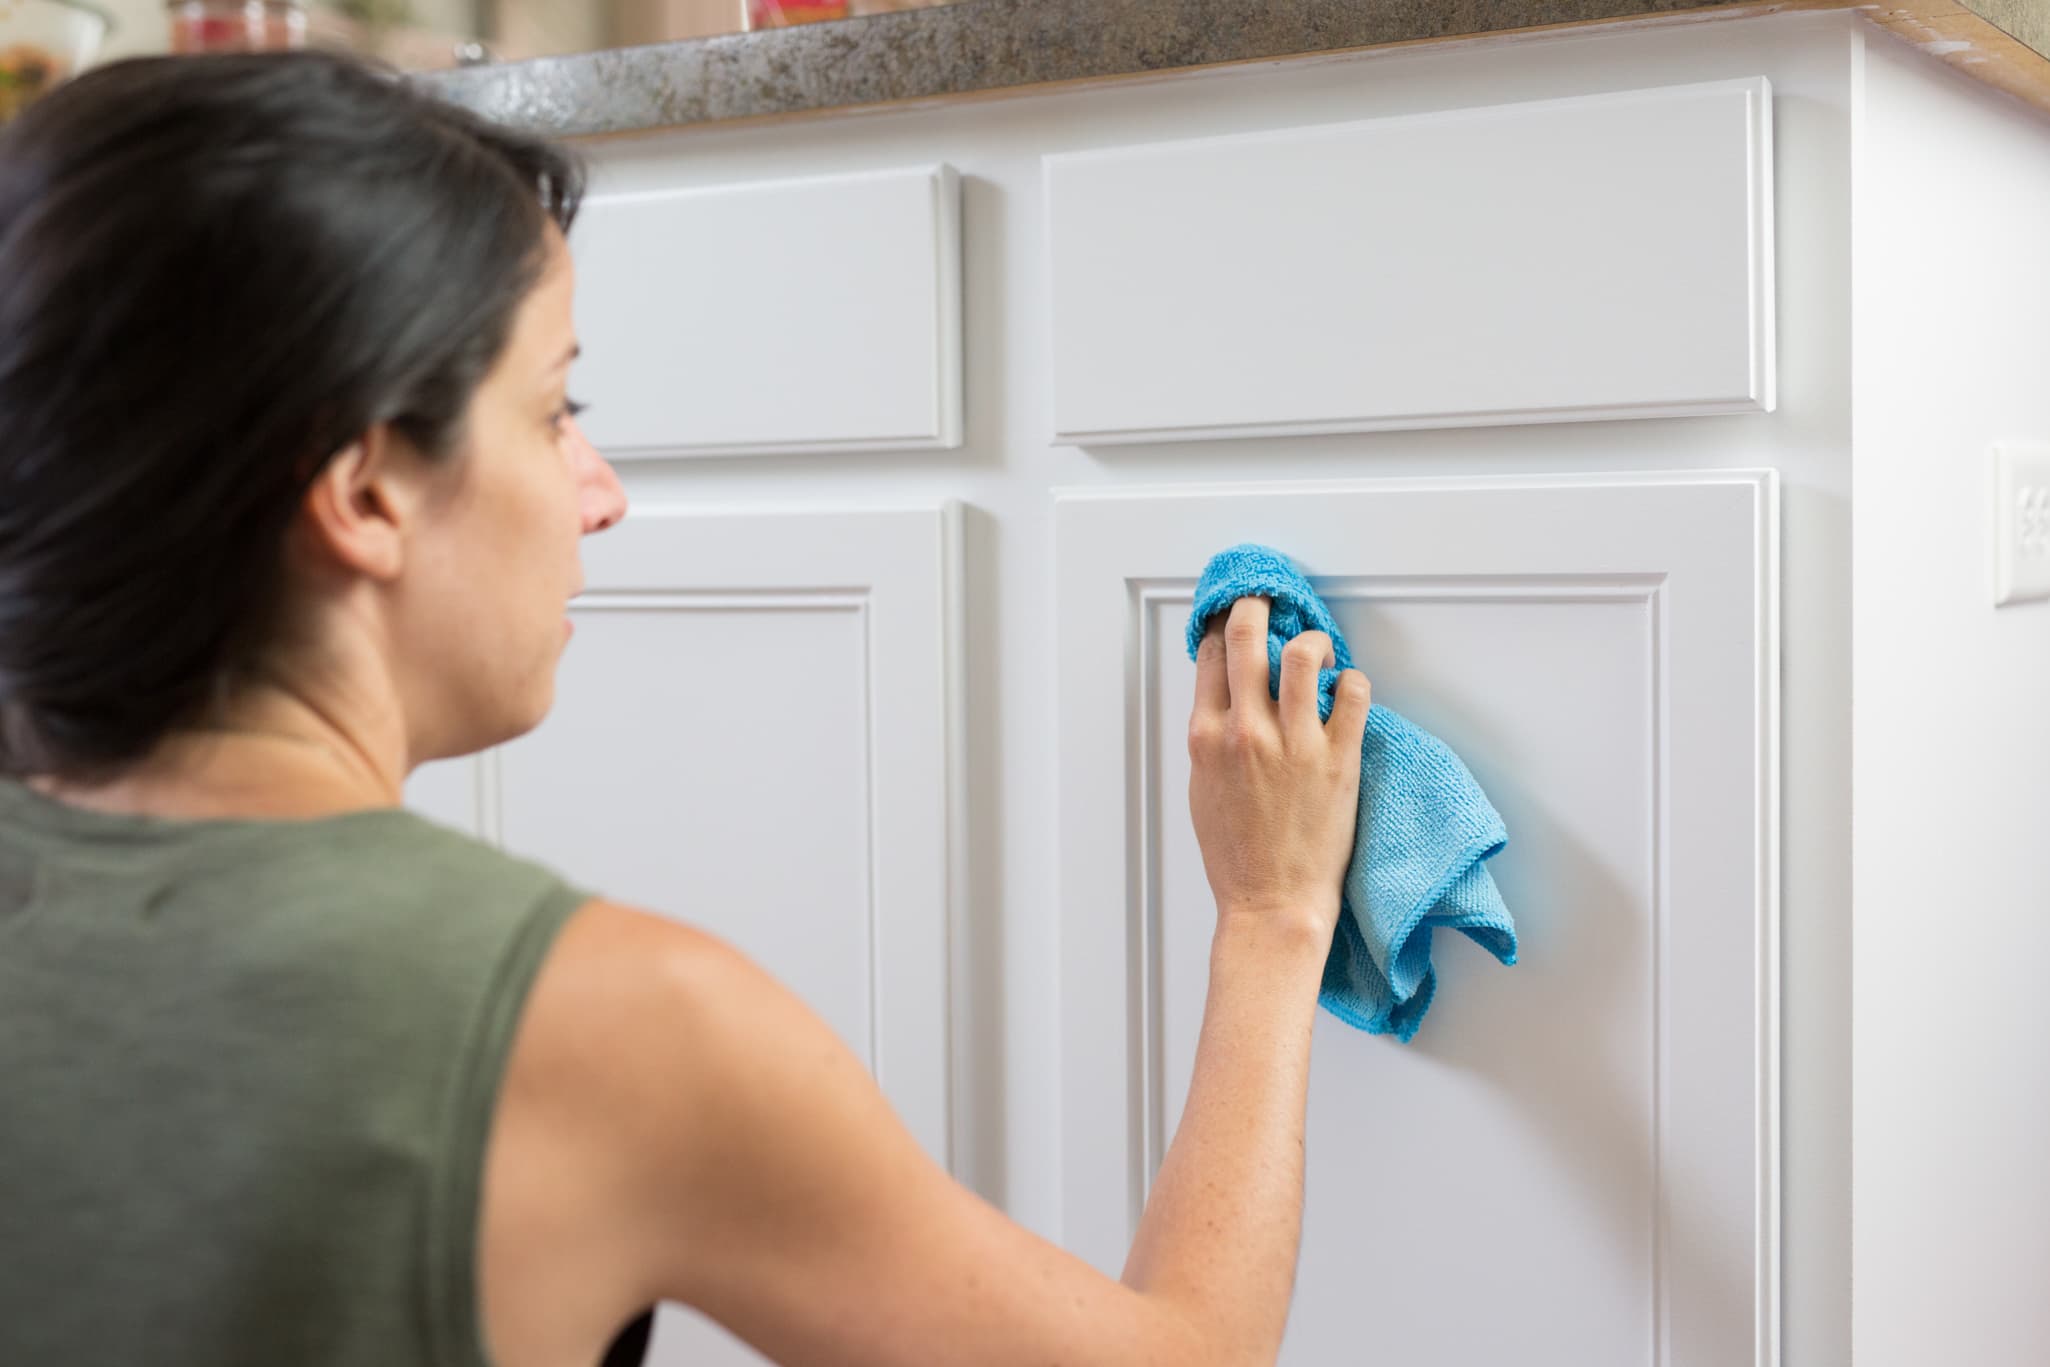
- Washing: Mix a small amount of mild dish soap into warm water. Dip a microfiber cloth into the solution, wring it out thoroughly to avoid excess water, and gently wipe down all cabinet surfaces. For stubborn grease, apply a degreaser according to the manufacturer’s instructions before washing.
- Scrubbing (if necessary): For tougher grime or stains, use a soft-bristled brush to gently scrub the affected areas. Avoid excessive scrubbing, which can damage the cabinet surface. Rinse the brush frequently in clean water.
- Rinsing: After washing, rinse the cabinets thoroughly with clean water using a damp microfiber cloth. Again, wring out the cloth well to avoid excess water.
- Drying: Allow the cabinets to air dry completely. A fan can help speed up the process. Ensure the cabinets are completely dry before proceeding to the next step, as any remaining moisture can negatively impact paint adhesion.
Comparison of Cleaning Methods
Various cleaning methods offer different levels of effectiveness and suitability for various cabinet materials. The choice of method depends on the type of cabinet material and the severity of the dirt and grime.
| Cleaning Method | Effectiveness | Suitability | Safety Precautions |
|---|---|---|---|
| Wiping with a damp cloth | Effective for light dust and grime | Suitable for most cabinet materials | Ensure the cloth is not overly wet to prevent water damage. |
| Scrubbing with a soft-bristled brush | Effective for removing stubborn stains and grease | Suitable for durable materials like wood and laminate; avoid on delicate surfaces | Use gentle pressure to avoid scratches. |
| Steam cleaning | Highly effective for deep cleaning and removing grease | Suitable for most cabinet materials, but test in an inconspicuous area first | Avoid prolonged exposure to steam, which can damage the cabinet finish. Use appropriate PPE. |
Addressing Specific Cleaning Challenges

Preparing your kitchen cabinets for a fresh coat of paint requires more than just a quick wipe-down. Thorough cleaning is crucial for ensuring the paint adheres properly and lasts. Ignoring stubborn grime or existing damage can lead to a less-than-perfect finish and potential problems down the line. This section addresses common cleaning challenges and offers practical solutions for achieving a flawlessly clean surface ready for painting.
What to clean cabinets with before painting – Many homeowners encounter unexpected obstacles when cleaning their kitchen cabinets. From sticky residue to water damage, these issues can significantly impact the final result of your painting project. Addressing these challenges proactively ensures a smooth and successful painting process.
Sticky Residue Removal
Sticky residue, often from spilled food or sugary drinks, can be particularly troublesome. This type of grime doesn’t simply wipe away; it requires a more targeted approach. Start by attempting to gently loosen the residue with a soft cloth dampened with warm, soapy water. For more stubborn stickiness, a solution of warm water and a mild dish soap, applied with a non-abrasive sponge, is often effective. For particularly tenacious residues, a paste of baking soda and water can be applied, left to sit for a few minutes, and then gently scrubbed away. Always test any cleaning solution in an inconspicuous area first to ensure it doesn’t damage the cabinet’s finish. Remember to rinse thoroughly and allow the cabinets to dry completely before painting.
Water Damage Remediation
Water damage manifests in various ways, from minor discoloration to significant swelling and warping. The severity of the damage dictates the approach. For minor discoloration, a thorough cleaning with a mild detergent and water might suffice. However, for more extensive damage, such as swelling or warping, professional intervention may be necessary. Before attempting any cleaning, assess the extent of the damage. If the wood is severely compromised, attempting to paint over it may lead to peeling or further damage. Repairing water-damaged wood often involves sanding, applying wood filler, and allowing it to dry completely before cleaning and painting.
Mildew and Mold Removal
Mildew and mold are not only unsightly but also pose health risks. Their presence indicates moisture problems that need to be addressed before painting. For minor mildew, a solution of bleach and water (always in a well-ventilated area and wearing protective gear) can be effective. Mix one part bleach to ten parts water and apply with a soft cloth or sponge. Allow it to sit for a few minutes, then scrub gently and rinse thoroughly. For extensive mold growth, professional remediation is recommended, as mold can penetrate deep into the wood. Addressing the underlying moisture problem is crucial to prevent recurrence. Ensure the area is completely dry before painting to prevent mold growth from returning.
Troubleshooting Common Cleaning Issues
Even with careful preparation, unexpected cleaning challenges can arise. This section provides practical advice for resolving common issues and offers alternative cleaning solutions.
| Problem | Solution | Alternative Solution |
|---|---|---|
| Streaks after cleaning | Ensure thorough rinsing and drying. Use a clean, soft cloth for final wiping. | Use a microfiber cloth for streak-free results. |
| Cleaning solution damages finish | Always test the solution in an inconspicuous area first. | Use a milder cleaning solution or try a different method, such as baking soda paste. |
| Residue remains after cleaning | Try a stronger cleaning solution (while still testing first). Let it sit longer before scrubbing. | Consider using a specialized cleaner designed for removing stubborn grease or grime. |
